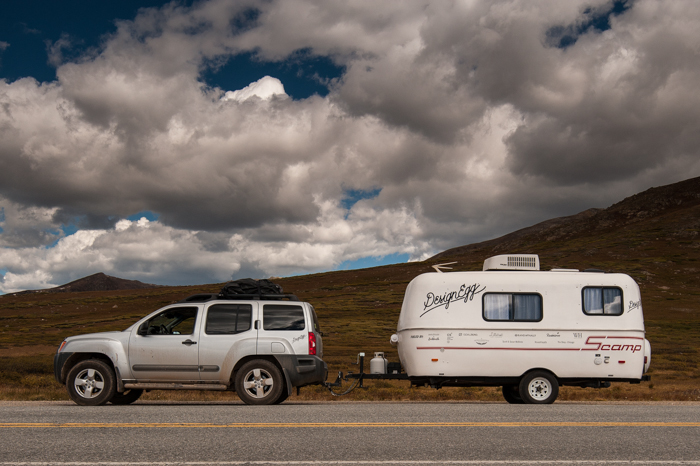
Hudson, WI—Growing up in Wisconsin, we saw lots of Scamp trailers on the road (they are made by a family-owned company in northern Minnesota). As adults, we were drawn to them again because of their small size, light weight, reasonable prices, and let’s face it—super cute rounded shape. We found the DesignEgg Scamp through RVTrader.com, a great site for camper classifieds. Turns out these little guys are hard to come by and it took us several tries to swoop in before someone else to buy ours. The one we found was a 2002 Scamp 16′ located in Blacksburg, VA, so we drove ten hours out there to pick it up from a super nice fellow (and soon-to-be DesignEgg backer) named Tim. The price of our new home: $9,000.
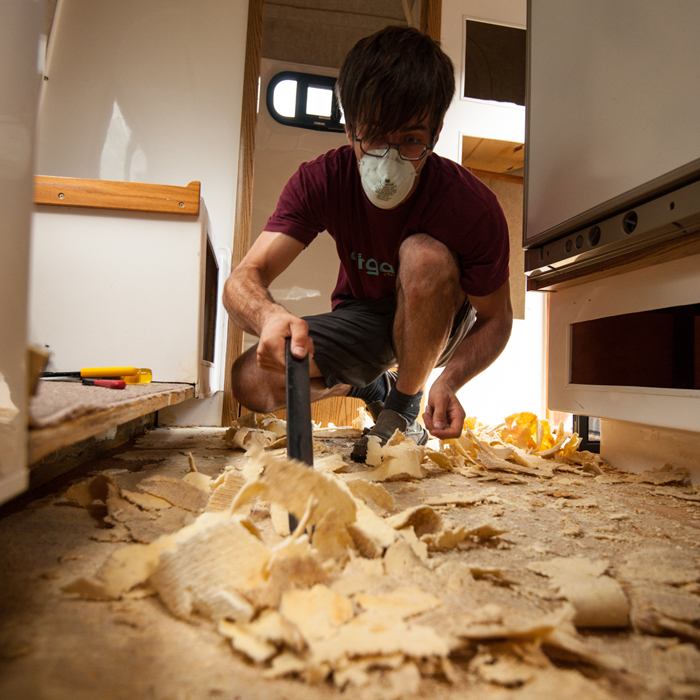
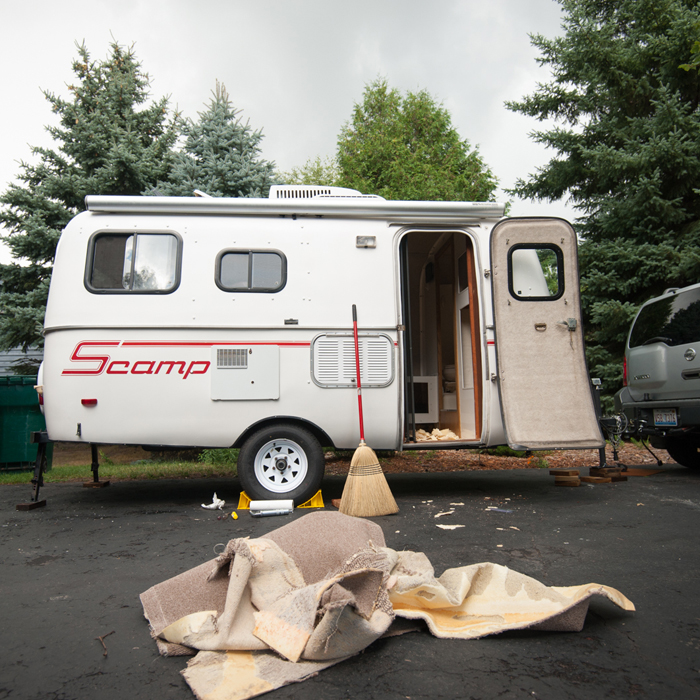
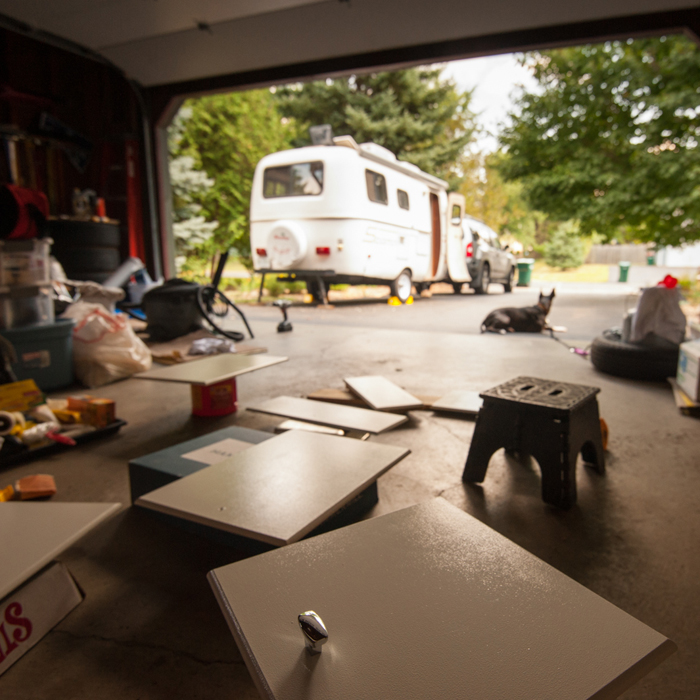
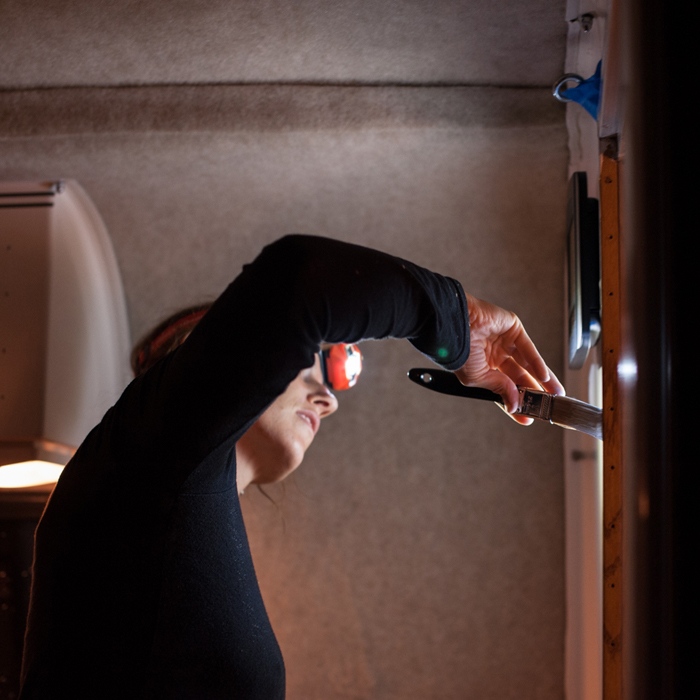
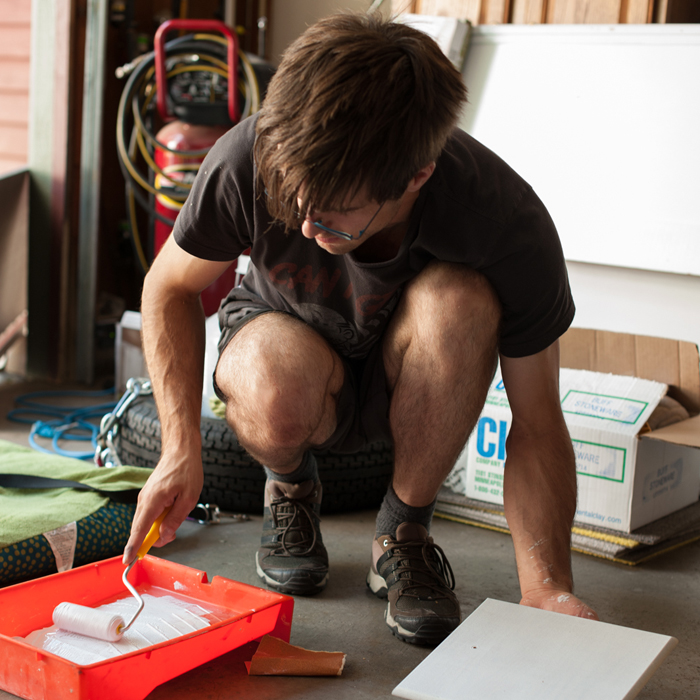
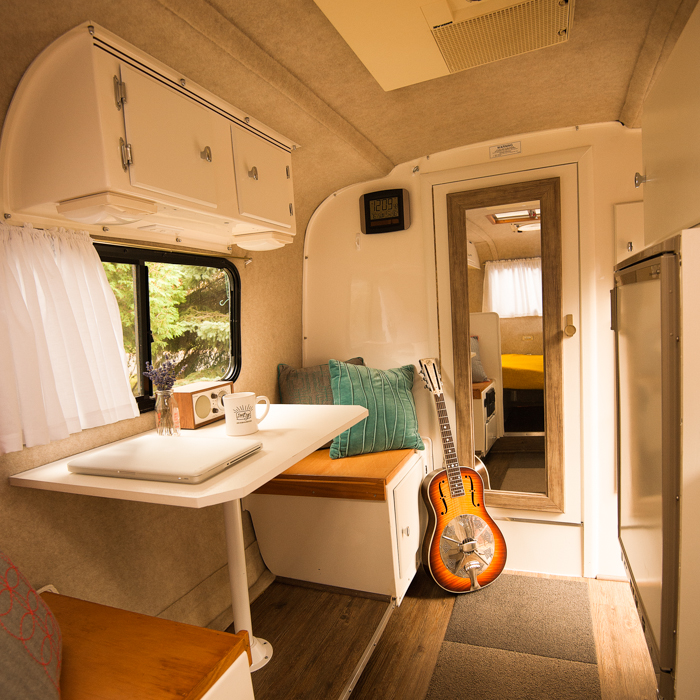
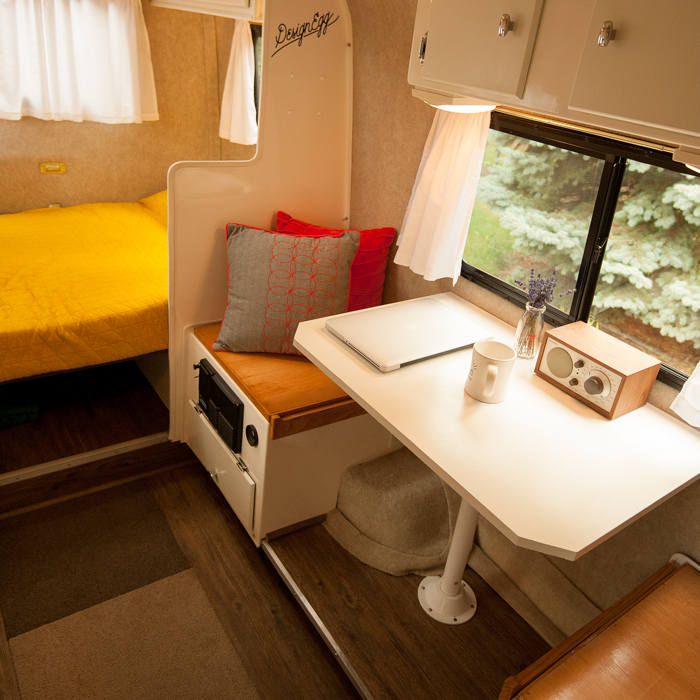
When we first purchased the Egg, we both agreed that we wanted to make it our own. So on a tight budget of $500, we set to work on the renovations. Our family graciously allowed us to park the trailer in the driveway for two weeks while we ripped out carpet, painted cabinet doors, built a new table, washed/de-oxidized/waxed the fiberglass, applied decals, made curtains, caulked, and re-packed all our belongings inside.
We documented the transformation and are happy to share it with any aspiring RV’ers or tiny house/small space dwellers out there.
Details:
- New Flooring: $96
Vinyl “Barnwood” planks from Menards - Paint, Primer, Rollers etc: $36
- Cabinet Pulls and Hinges: $112
- Curtains: $46
3 yards of linen from JoAnn Fabrics, cut and sewn by Judy Wickstrom - Throw Pillows and Quilt: $56
On sale at Target - Various cleaning products: $38
- Various adhesives, and tools: $22
- New mirror and wood for side table: $42
Total cost of Scamp-Revamp: $448
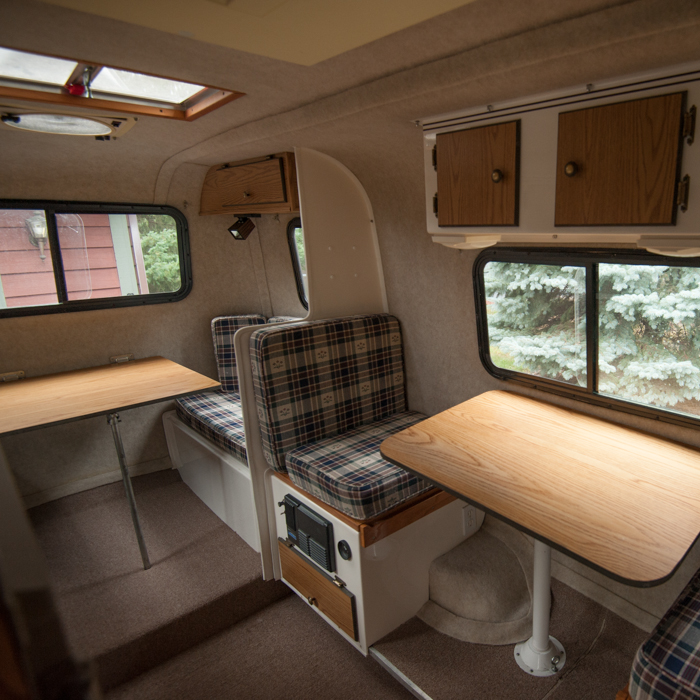
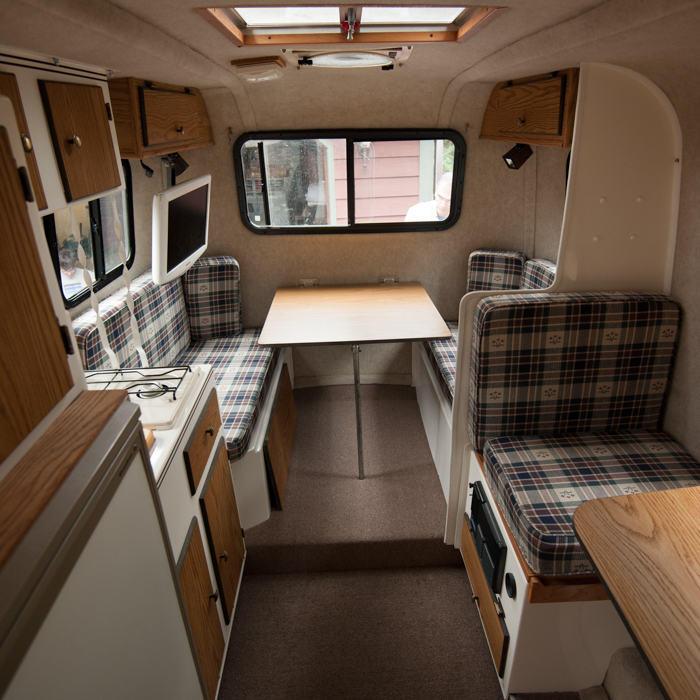
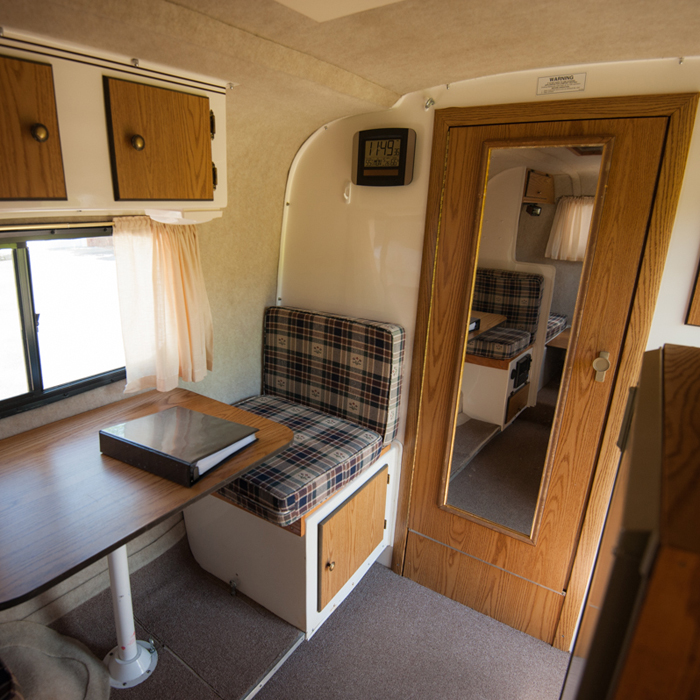
Before: Our Scamp and its Vintage Charm
The Revamp: DIY
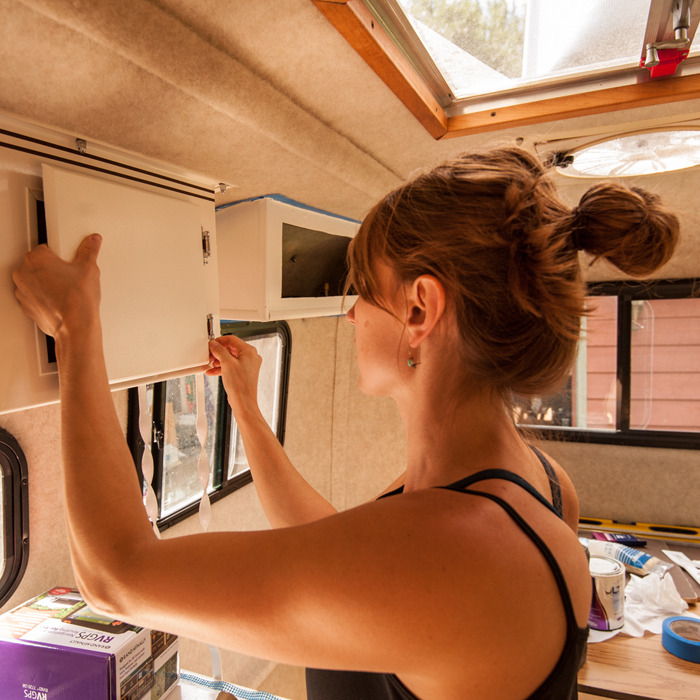
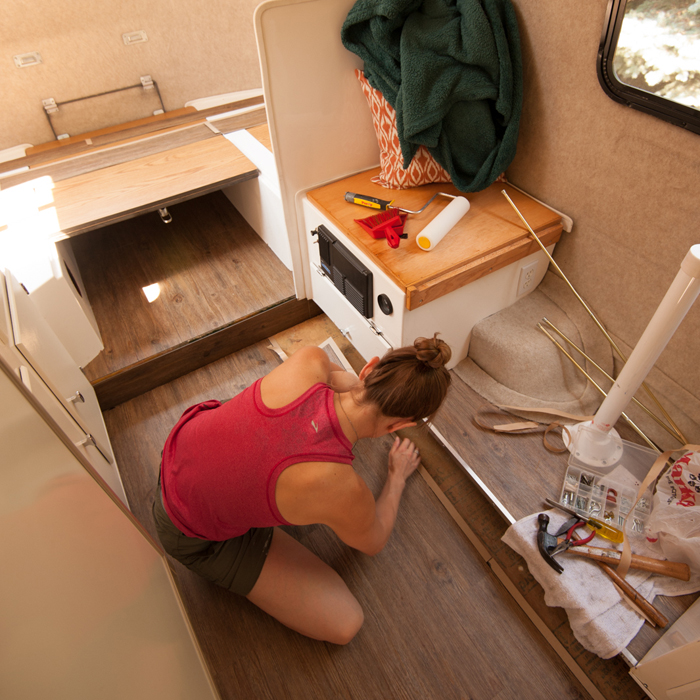
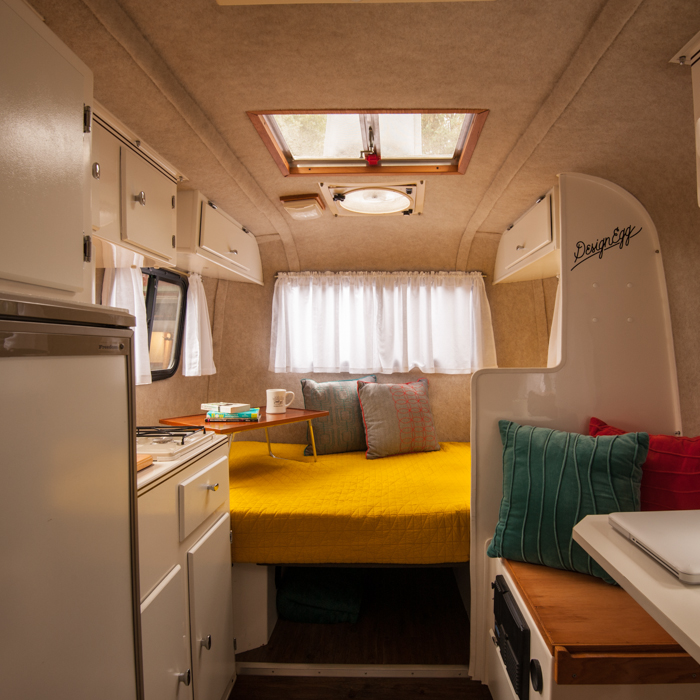
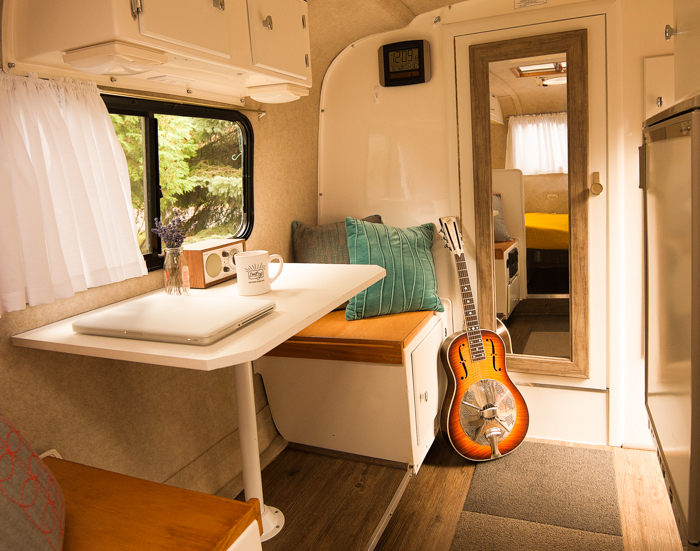
After: Our Modern Mobile Design/Living Quarters




9 Comments
This is super rad! Great job, guys! It was a pleasure meeting you two today (we’re the two asian kids at Wills of Fire). And love the blog, by the way. Great work!
+1 to what Alvin said – all aspects of this are awesome, and I’m super jealous. (I met you guys at Mansize area – near Standup Comedian / Fingerhut / Double Delicious.)
Pingback: Bigfoot fiberglass trailer makeover | WeighMyRack Blog
We just passed you guys on I-70 East of Glenwood Canyon! Looks like a great adventure! We have a 1977 13′ Scamp.
What a great job you did! We are in the process of working on our newly acquired 2002 16′ Scamp. Have painted and are working on curtains this weekend. Can’t wait to go on our first adventure! Safe travels to you.
This looks great – do you know what color you painted the wood trim? We are also painting our interior (a 1996 Scamp 16) and I want it to match the fiberglass cabinets if possible. Yours is an inspiration!
Hey there! Thanks for the compliment! We used “Night Blooming Jasmine” from Home Depot/Behr. Grab a sample and see if it works for you, too. Definitely get high gloss–it matches the fiberglas and is easy to clean. Good luck!!
Did you guys ever consider removing or covering the carpet on the walls and ceiling? Wondering how hard it is to do that?
Hey Megan, boy that seems like it would be difficult–it’s glued down and I think there is just fiberglass underneath so you’d need to resurface with something. Our walls were in really good shape and the fabric is a great noise dampener so we didn’t consider removing. I also kind of love the look! Good luck with your project!